iOS Frontend
Applin's iOS frontend is in the ApplinIos library. To use it, we create a boilerplate iOS app and have it call the library on startup.
You can try the iOS frontend right now. Install the Applin Tester app from the App Store and connect to one of the demo backends. See Manual Testing.
Make a New App
- Download https://github.com/leonhard-llc/applin-ios-example
- Open the project in XCode
- Xcode's left-hand panel is a tab view displaying "navigators".
Display the Project Navigator by clicking the left-most icon
or selecting
View > Navigators > Projectfrom the menu. - Change your app's Bundle Identifier
- Click "Applin Example" at the top of Project Navigator
- Click "Applin Example" under "TARGETS"
- Click the "Signing & Capabilities" tab
- Change "Bundle Identifier" from
com.example.Applin-Exampleto an appropriate one for your app. See https://developer.apple.com/documentation/appstoreconnectapi/bundle_ids.
- Change your app's name
- Click "Applin Example" at the top of Project Navigator. Click it again to change it into a text edit box.
- Enter your app's new name and press ENTER.
- "Rename project content items?" appears. Click "Rename".
- Rename the "Applin Example" under "TARGETS"
- Rename the "Applin Example" folder to match your app's name.
- Select your app under "TARGETS", click the "Build Settings" tab, and change "Packaging > Info.plist File"
from
Applin Example/Info.plistto the new path of the file.
- Add your app icon to
Assets > AppIcon - Replace
logo.pngwith your app's logoInfo.plist > Launch Screen > Image Nametells UIKit to generate a launch screen that displayslogo.pngin the center. It sizes the image by mapping 1 image pixel to 1 device-independent pixel. To change the logo's size on the screen, use an image editor to change its resolution.- To get more control over the launch screen, use a Storyboard Launch Screen.
- Edit
Main.swift- Check the server URLs
urlForSimulatorBuildsurlForDebugBuilds(for testing the app on your own devices)licenseKey(used by Release builds, contains prod server URL)
- Customize
firstStartupPage - Update your support channels or set them to
nil. These are used inStaticPages.support.statusPageUrlsupportChatUrlsupportEmailAddresssupportSmsTel
- Check the server URLs
- Replace
terms.txtandprivacy.txt
Build and Run
Build your app and run it in Simulator:
- Use the device selector in the XCode bar and select an item under "iOS Simulators".
- To change the available simulated devices, click the menu item "Window > Devices and Simulators".
- Click the "Start the active scheme" button which looks like a triangle
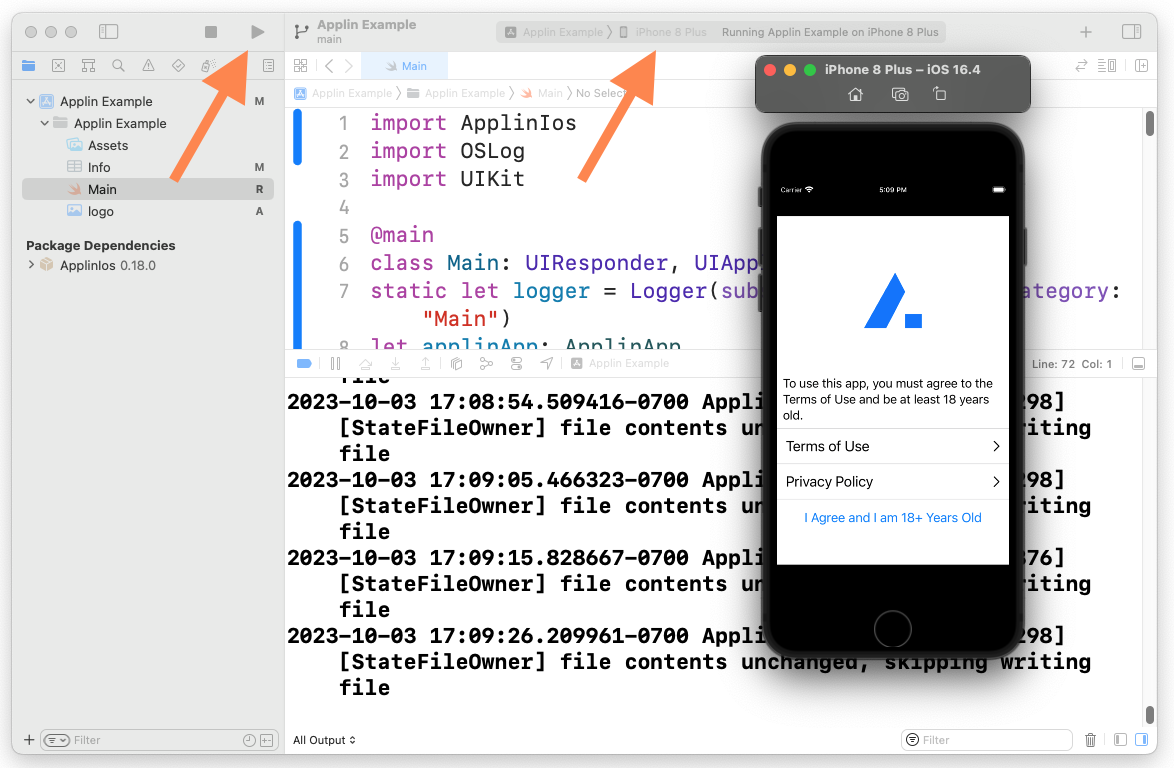
The first time XCode launches an app, it starts very slowly. When you launch an app by tapping the icon, it starts instantly.
Note: Simulator has some slightly differences from real devices. See https://developer.apple.com/documentation/xcode/devices-and-simulator/. Also, Applin has a rendering bug (applin-ios#1) that only appears in Simulator.
If you try to run your app on a physical device and it fails with a signing error, you must complete these steps:
- Create an Apple Developer account
- Pay Apple their annual fee
- Register your device to your Apple Developer account
Note: Release builds require a valid Applin license key. See Releasing.