Optional - Recreate Example App
This section shows how to make a new XCode project and turn it into an Applin frontend.
Note: This is the slow way to make a new app. The fast way is to follow the instructions in iOS Frontend.
1. Create XCode Project
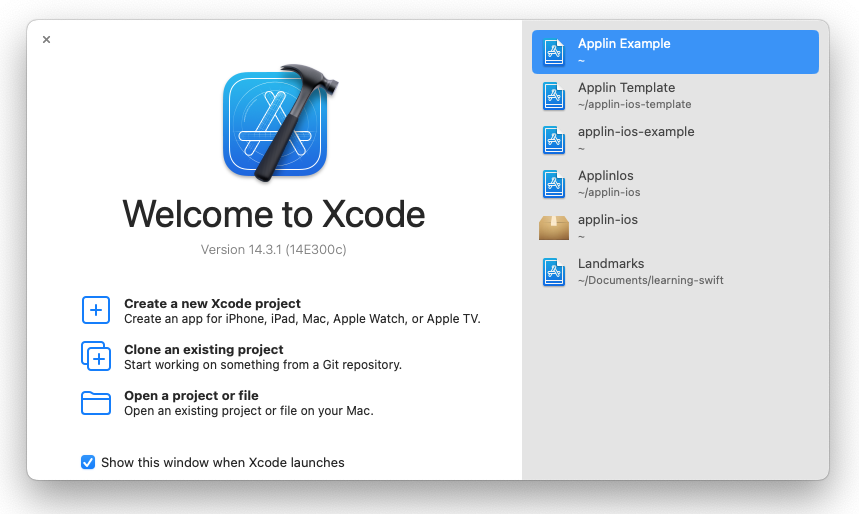
- Open XCode
- "Welcome to Xcode"
- Click
Create a new XCode project
- Click
- "Choose a template for your new project"
- Select
iOS - Select
App - Click
Next
- Select
- "Choose options for your new project"
- Enter your app's name
- Select your Apple Developer team account.
- Select
Storyboardinterface - Select
Swiftlanguage - Click
Next
- Select the directory to hold the new app directory. Click "Create".
2. Update Files
Xcode's left-hand panel is a tab view displaying "navigators".
To display the Project Navigator, click the left-most icon or select View > Navigators > Project from the menu.
DeleteandMove to Trasheach of these itemsAppDelegateSceneDelegateViewControllerMainLaunchScreen
- Add
logo.png- Save logo.png to your computer
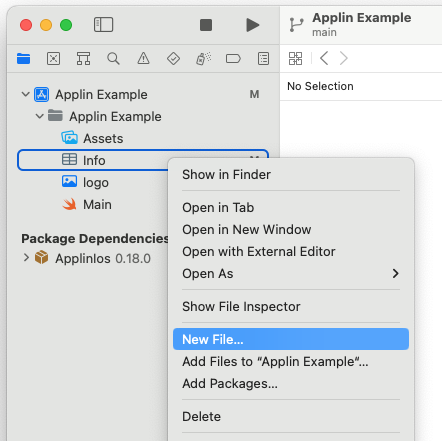
- In the Project Navigator, right-click on "Info", and click
Add Files to "App Name"...and add thelogo.pngfile you saved.
- Add
Main.swift- In the Project Navigator, right-click on "Info", and click
New File - "Choose a template for your new file" modal appears
- Select
iOS - Select
Swift File - Click
Next - Type
Maininto the "Save As" box - Click
Create
- Select
- "Would you like to configure an Objective-C bridging header?" modal appears
- Click
Don't Create
- Click
- The middle panel shows "Main". Replace the contents with https://github.com/leonhard-llc/applin-ios-example/blob/main/Applin%20Example/Main.swift.
- In the Project Navigator, right-click on "Info", and click
3. Update Configuration
- Add ApplinIos package
- Right-click anywhere in the Project Navigator and click
Add Packages - Paste
https://github.com/leonhard-llc/applin-ios.gitinto the search box - The right panel will show "applin-ios"
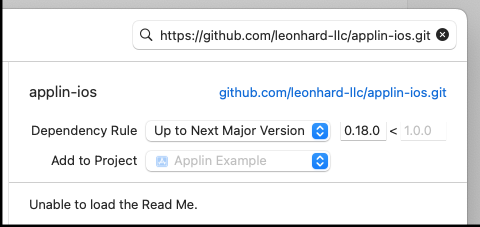
- Click
Add Package - "Choose Package Products for applin-ios" modal appears.
1.Click
Add Package
- Right-click anywhere in the Project Navigator and click
- Use
logo.pngas the launch screen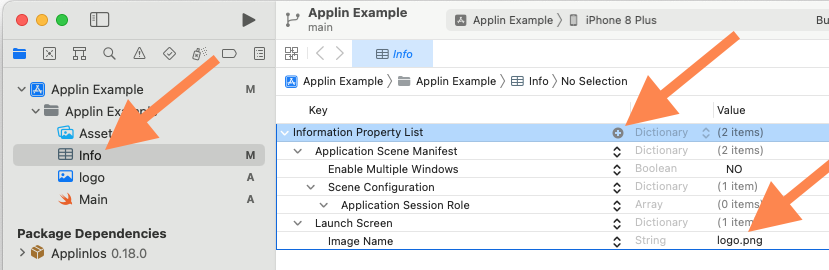
- In Project Navigator, click on
Info - Add the row "Information Property List" > "Launch Screen"
- Click the
+button to add a row
- Click the
- Change the value of row "Information Property List" > "Launch Screen" > "Image Name" to
logo.png
- In Project Navigator, click on
- Stop UIKit from trying to load "Main" storyboard
- In Project Navigator, click on
Info - Delete the row "Information Property List" > "Application Scene Manifest" >
"Scene Configuration" > "Application Session Role" > "Item 0 (Default Configuration)"
- Hover over the row and click the
-button to delete the row
- Hover over the row and click the
- In Project Navigator, click on
- Allow app to run on iOS 15 (iPhone 6S) and newer
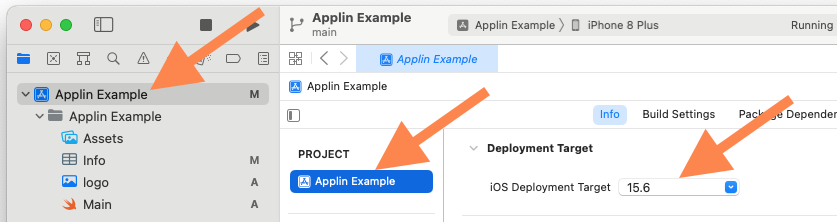
- Open project configuration
- In Project Navigator, click on the project, which is top-most item in the Project Navigator It has a blue App Store icon.
- Under "PROJECT", click on the app name
Infotab- Change "iOS Deployment Target" to
15.6. This supports iPhone 6S and newer.
- Change "iOS Deployment Target" to
- Open project configuration
- Remove unused storyboard settings
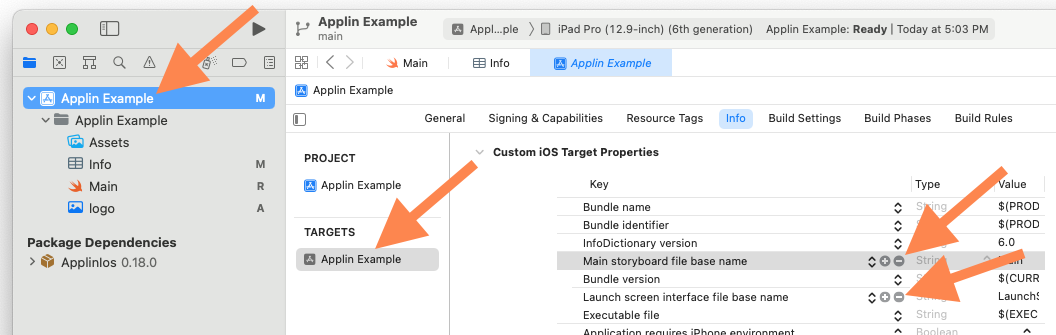
- Open target configuration
- In Project Navigator, click on the project, which is top-most item in the Project Navigator It has a blue App Store icon.
- Under "TARGETS", click on the app name
Infotab- Delete these rows:
- "Main storyboard file base name"
- "Launch screen interface file base name"
- Delete these rows:
- Open target configuration